OpenDCS Screening - Introduction
OpenDCS includes a tool called the Screening Editor. This tool is designed for users to set up screening criteria for time series. It is common practice for data to be ingested into a database with meta-data “raw”. In other words, the output of the DECODING is meant to be the rawest data format from the field. When the screening tool and computation is run, a copy of the raw time series is created with the suffix “rev”. Depending on the screening criteria, data will be a direct copy of the raw, or flagged as questionable or perhaps even rejected if the raw data is too extreme.
Reasons that screening may be used include the following:
Prevent unrealistic or physically impossible values from reporting
Help attribute flags to help monitor the state of the system where the gages are deployed
Minimize gage malfunctions from reporting
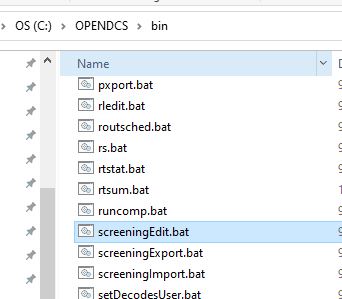
How do I launch the Screening Editor?
Unlike the computation processor or DECODES Database Editor the Screening Editor is not launched from the Main Menu.
A window will pop up for log-in information.
For USACE:
USERNAME: H7
PASSWORD: Oracle
Alternatively, if launching from the server, use the following command:
:: screeningEdit
For USBR:
What are the tabs?
There are two tabs in the screening editor:
Screening IDs
TS Assignments
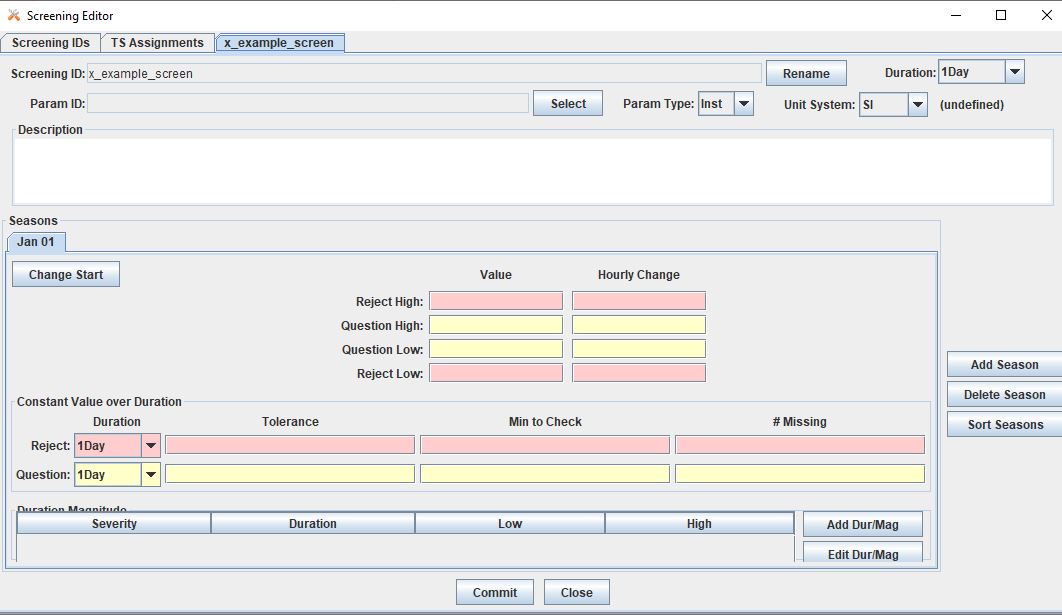
The screening IDs tab is where criteria are defined. Any IDs defined here can be attributed to more than one time series. For example, if you have multiple gages on the same body of water for which you would like to undergo the same screening criteria, one screening ID can be defined here for common time series paths.

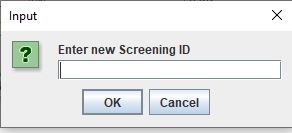
To add a new criteria, click the “New” button on the bottom of the screen. A window will pop up to name the new screening ID. Names must be constrained to 16 characters or less.
In the window that pops up, there will be some criteria to be selected.
To set the criteria, recall the time series parts. More detail about time series parts can be found _______.
Location.Stage.Type.Interval.Duration.Version
In the example below, the screening criteria is set for hourly stage average time series. This screening criteria can be applied to any time series that has the following parts. The Location, Interval and Version can be unique to the time series selected.
Location.**Stage**.**Ave**.Interval.**Hourly**.Version
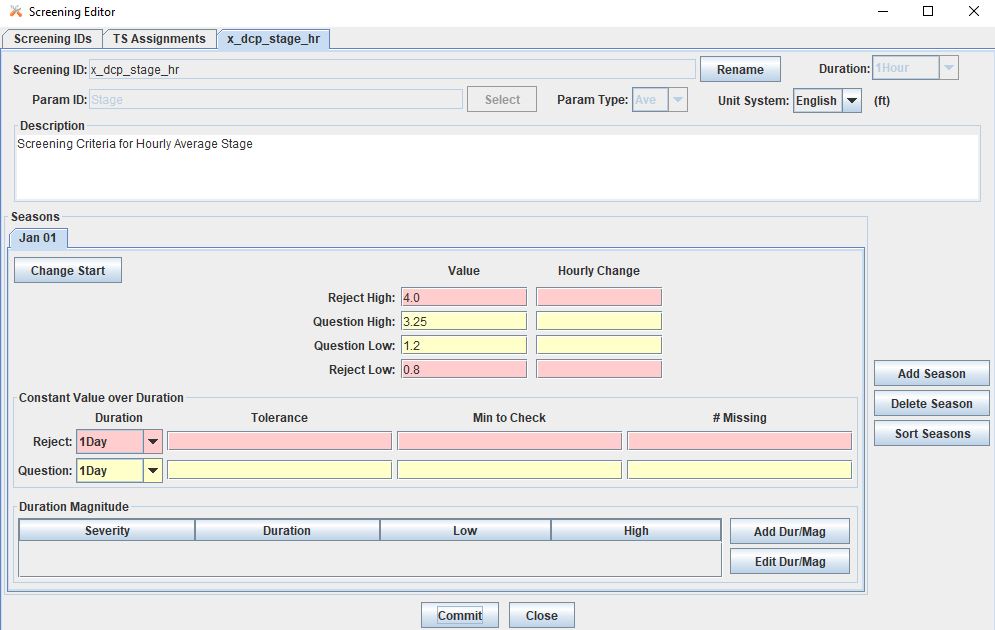
Before attributing this to a time series, the recommended next step is to set up the computations. Users should be familiar with the basics of setting up a computation prior to setting up a screening. For more information about getting started with computations, see ______ .
Set up the Computation
The screening computation will use the algorithm CwmsScreening. There is another option to use DATCHK files. This is addressed further below ______.
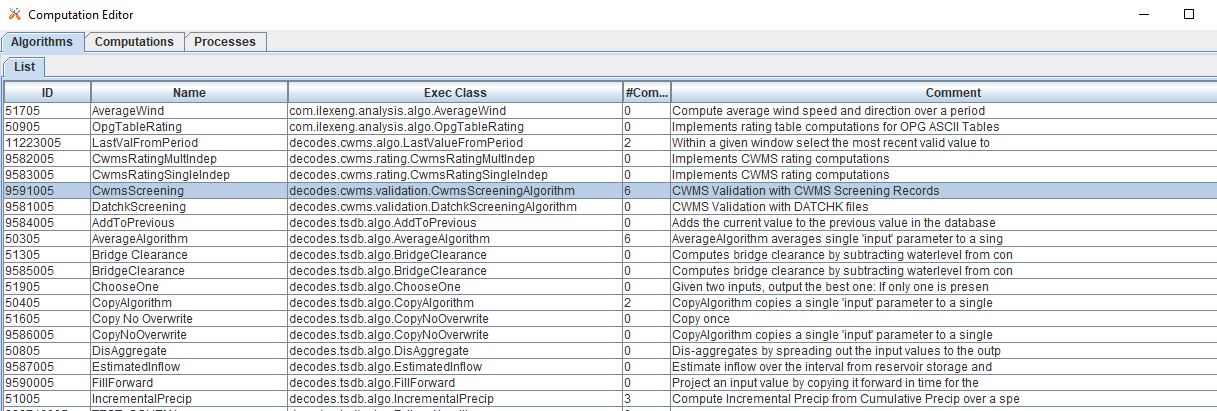
To set up the computation, navigate to the computations tab and create a new computation.
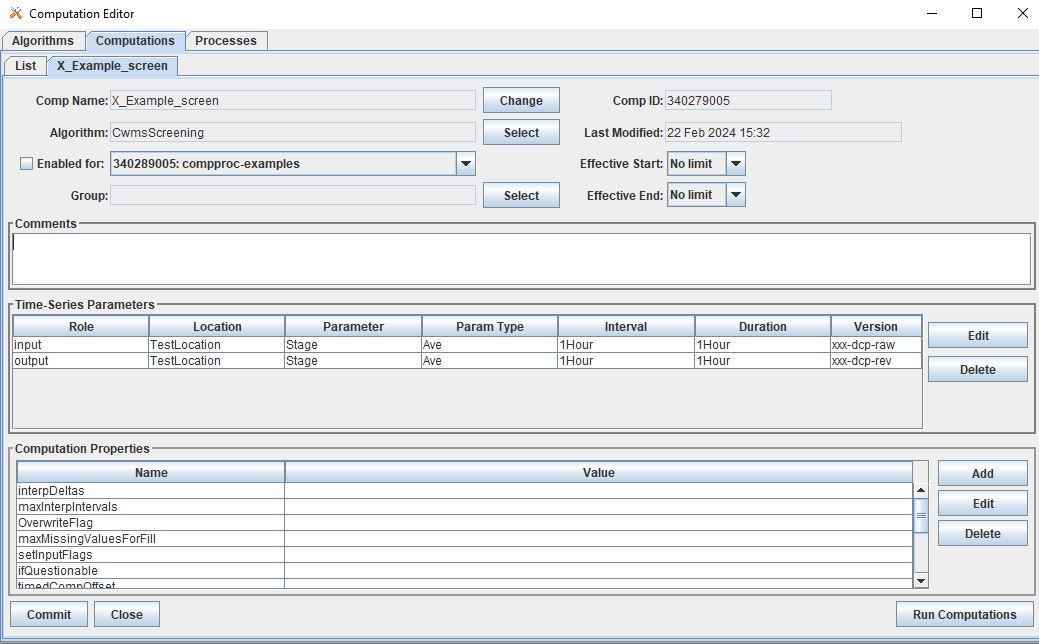
At this point, the screening ID has not yet been attributed to a time series. Therefore, by default, if this computation is run, the output will be a direct copy of the input.
For example, see the computation run in the window below:

Now, to apply the screening, go back to the Screening Editor and navigate to the TS Assignments Tab. If this is your first time using the screening editor, there are no records listed. Go back to the Screening IDs Tab, and select the screening ID which is going to be applied to a time series. Click on the “Assign to TS” button on the bottom of the screen.


Then a list of all the pathnames in the database that match the screening criteria will pop up. The window is called “Time Series List”.
For this example, recall that this means any pathname of the form:
Location.**Stage**.**Ave**.Interval.**Hourly**.Version
Select the time series for which the criteria is going to be applied. To select more than one record, click and hold Shift to select a group of records, or use ctrl. The list of time series can be resorted by clicking on the headers.
NOTE: If there is already a record of the desired time series with a version “rev”, select the “raw” version. The screening here will be applied to the “raw” time series, but the screened output will be written to the “rev” time series path defined in the computation. No changes will occur on the input “raw” time series.
Once all the time series are selected, click “Select” on the bottom of the screen. Then, the Time Series List window will close and likely the main screen will go back to the ScreeningIDs tab. Navigate to the TS Assignments tab and a new listing or listings will be present.

By default, the Active setting will be set to true. To change this setting click on the “Set/Clear Active” button and select “inactive”.
To test the computation, go back to the Computation Editor. On the Computations tab, be sure that the computation is closed. Click the Refresh List button on the top right of the window. Then open the computation again and run the computation.
… more content coming soon …
Starting with DATCHK files
Some users may be familiar with employing screening or validation using DATCHK files. DATCHK files are files